
How many buildings are in Corsair Cove?
100+ structures across Connections, Housing, Community, Materials, Food, Ship, and Principle categories — community databases track individual names and costs.

Corsair Cove buildings guide: 100+ structures across Connections, Housing, Community, Materials, Food, Ship, and Principle unlocks with roles and chain links.
Tiered pirate settlement — bridges, housing clusters, and production buildings stacked on cliff shelves.
~10 min read
Sponsored
Corsair Cove ships with 100+ buildings spread across cliff maps — not a flat grid of copy-paste workshops. This Corsair Cove buildings guide groups every structure type by role (Connections, Housing, Community, Materials, Food, Ship, Principle) so you know what to erect before your Fetchers paint the island red. From Limbic Entertainment, published by Hooded Horse. Verified August 16, 2026 · Steam.
| Fact | Detail |
|---|---|
| Total structures | 100+ buildings (IGN / community databases) |
| Core families | Connections · Housing · Community · Materials · Food · Ship · Principle |
| Hub rule | Most operable buildings need Pirate Camp range or a valid path |
| Logistics pair | Producer + Warehouse + Fetcher route — see logistics guide |
| Recipes | 50++ goods tie to specific workshops — production chains |
| Unlocks | Technology Compass principles + regional Deeds |
| Vertical tools | Bridges · ziplines · elevators · cliff paths — vertical building |
| Achievements | 62 Steam achievements reference build milestones |
Community wikis and launch databases list 100+ named structures. In play they fall into seven families that answer different questions: *Can workers reach it?* (Connections), *Where do pirates sleep?* (Housing), *Who distributes rations?* (Community), *What raw good enters the chain?* (Materials), *What do pirates eat and drink?* (Food), *What feeds the fleet?* (Ship), and *What does the Compass grant?* (Principle).
| Category | Role | Examples |
|---|---|---|
| Connections | Link cliffs and shorten Fetcher walks | Connector · Cliff Path · Bridge · Zip Line · Elevator · Aerial Lift · Mast · Ladder · Ramp |
| Housing | Population cap and tier gates | Tent · Classy/Bloody/Salty/Fancy Cabin · House (Principle variants) |
| Community | Distribution, trade, defense hubs | Pirate Camp · Warehouse · Galley · Tavern · Outfitter · Barber Surgeon · Marketplace · Expedition Supplier · Piers · Gun Towers |
| Materials | Raw → processed industry | Woodcutter · Sawmill · Quarry · Stonecutter · Charburner · Weaver · Iron Mine · Bloomery · Steel Foundry · Tar Kiln |
| Food & Drink | Rations and morale inputs | Campfire · Stew Kitchen · Soup Kitchen · Cassava Oven · Fishing Hut · Moonshine Still · Brewery · Saltern |
| Ship & Weapons | Fleet and island defense output | Shallow/Trade/Deep-Water Pier · Dry Dock · Sail Workshop · Rope Workshop · Armory · Powdermill · Arsenal |
| Principle | Compass-unlocked buff buildings | Gambling Den · Corsair Cuisine · Entertainer's Guildhall · Shipwrights' Guildhall · Great Lighthouse · Salvage Dock |
Materials and Food buildings manufacture goods. Community buildings — especially Galley, Tavern, and Outfitter — push those goods into Pirate Camp range so assigned pirates actually consume them. Warehouses sit between the two as buffers Fetchers fill and empty. Beginners who skip distributors build the prettiest cliff city that still starves Greenhands.
The Pirate Camp is both housing (+25 capacity in standard layouts) and the connectivity hub. Operable buildings outside camp range need a continuous path of Connections back to camp. The red No Pirate Camp Connection icon is the fastest diagnostic on this entire page — fix links before you add another Sawmill.
Connections are the first family most players under-build; the next section covers which ones pay off on hour one.
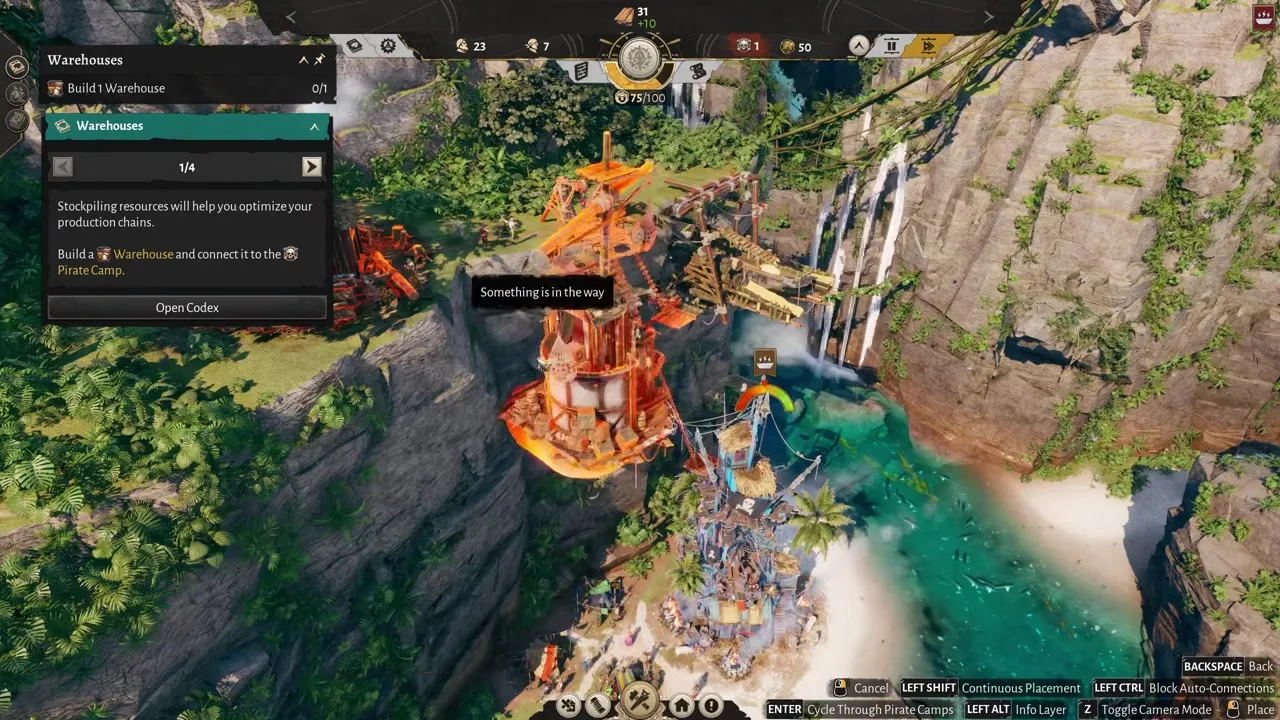
Cliff maps punish horizontal sprawl. Connection buildings turn impossible hauls into green-path logistics — they are not cosmetic. Early islands often need Cliff Paths and Connectors before anything exotic; mid-game forts add Zip Lines (Notoriety), Elevators (Empire), Aerial Lifts (Wealth), and Masts (Seafaring) with principle-specific upgrades to speed or length.
| Connection | Typical use | Logistics note |
|---|---|---|
| Cliff Path / Connector | First-tier links along the same cliff face | Cheapest fix for “camp sees building but Fetcher walks forever” |
| Bridge / Ramp | Cross small gaps between shelves | Pairs well with Warehouse midpoints |
| Zip Line (Notoriety) | Fast vertical drop between two anchors | Not a substitute for camp connectivity — both ends must still link to hub |
| Elevator (Empire) | Lift goods and workers between tiers | Place near Warehouse pairs on each floor |
| Aerial Lift / Mast (Wealth / Seafaring) | Long-span specialty links | Unlock when Compass spend matches your ship line |
A Zip Line that skips a Warehouse still needs Fetchers at both ends if production and consumption sit on different tiers. The vertical building page walks cliff layout patterns; this page’s rule is simpler: if path color is red, add connection or move storage — never just add another producer.
Gun Towers (Small, Medium, Large) are community/defense buildings that also demand Black Powder and Cannon Balls from your materials chain. They anchor chokepoints — plan connection routes so powder hauls stay short when Crown probes arrive.
With tiers linked, housing and community buildings determine how many pirates your camp can actually support.
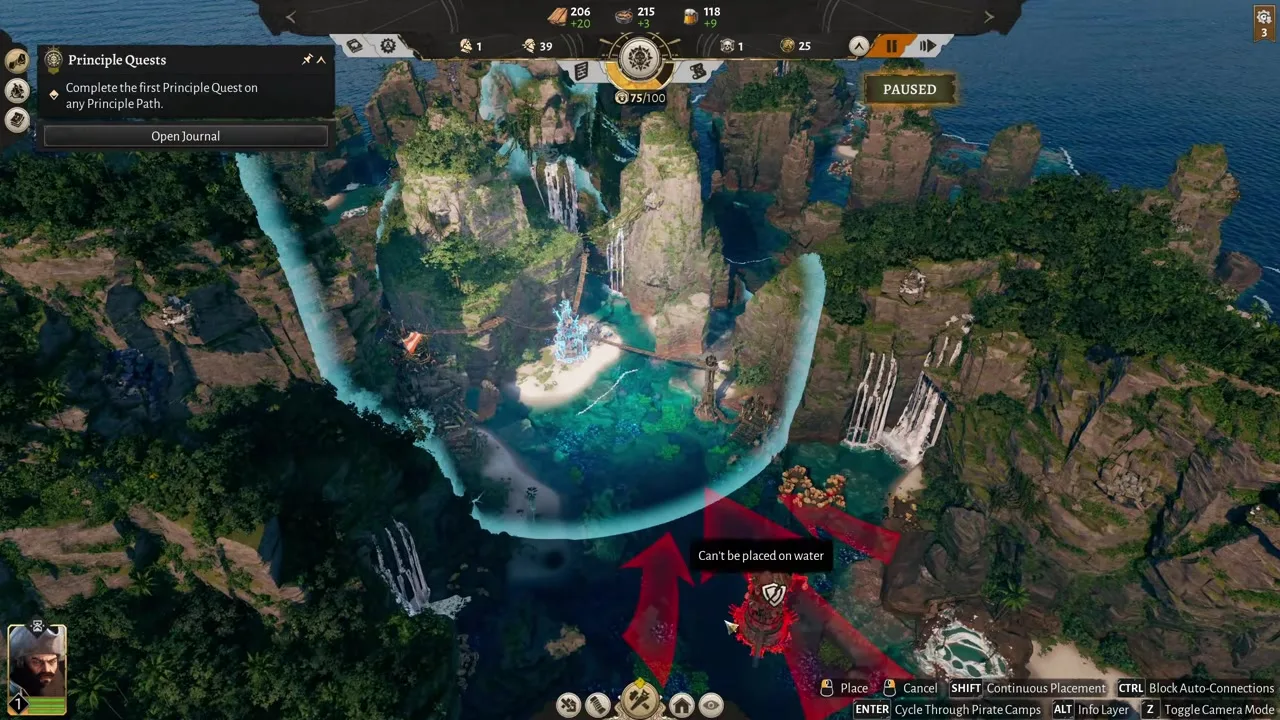
Opening hours revolve around Tents (or early cabins), the Pirate Camp, stew distribution through a Galley, and booze through a Tavern. Warehouses belong in this cluster too — they are community buffers, not materials producers. Later camps add Outfitters (clothes), Barber Surgeons (medicine), Marketplaces, and Expedition Suppliers for voyage prep.
| Building | Function | When to build |
|---|---|---|
| Tent / early cabin | Housing slots for Drifters and workers | Before first Woodcutter assignment |
| Pirate Camp | Hub connectivity + camp range + housing bonus | First permanent structure after wreck salvage |
| Warehouse | Stockpile planks, charcoal, rope near consumers | Alongside first Sawmill cluster |
| Galley | Distributes stew to camp range | Before promoting Greenhands |
| Tavern | Distributes booze — required before ship crew | Before Landlubber launch |
| Outfitter | Clothes tiers for mid-rank pirates | When promoting past Scallywags |
| Shallow Pier | Moor Tier 1 Landlubber | After rope/plank buffer exists |
| Trade / Deep-Water Pier | Larger hulls and trade routes | Tier 2+ Compass unlocks |
Basic Tents carry Drifters and early Greenhands. Principle cabins — Classy, Bloody, Salty, Fancy — raise capacity and attract higher-tier drifters from events. You cannot house Corsairs in tents; the crew guide tier table lists which housing unlocks which ranks.
Each Pirate Camp paints a circular service range. Stack housing inside it; ring the edge with Galley, Tavern, and production. A second camp on another cliff is a second district — duplicate the Galley/Tavern pair instead of hoping one distributor serves the whole island.
Food and materials workshops feed those distributors — covered next.
Materials buildings turn map nodes into chain inputs: Woodcutter → Sawmill for planks, Quarry → Stonecutter for blocks, Charburner for charcoal, Weaver for fabric, Iron Mine → Bloomery → Iron Caster → Steel Foundry for metal tiers. Food buildings cover stew lines (Campfire, Stew Kitchen, Soup Kitchen), cassava and salt (Cassava Oven, Saltern, Cassava Picker), protein (Fishing Hut, Turtle Catcher, Rotisserie), and drink (Moonshine Still, Brewery).
| Chain | Buildings (examples) | Feeds |
|---|---|---|
| Lumber | Woodcutter · Sawmill · optional Tar Kiln | Construction, rope, sails, charcoal |
| Stone & lime | Quarry · Stonecutter · Lime Kiln · Tabby Cradle | Forts, Tabby, advanced structures |
| Textiles | Leafcutter · Weaver · Outfitter inputs | Slops, boots, fancy clothes |
| Metals | Iron Mine · Copper Mine · Bloomery · Steel Foundry | Tools, guns, ship fittings |
| Stew | Campfire / Stew Kitchen → Galley | Greenhands and low tiers — see crew guide |
| Booze & rum | Moonshine Still · Brewery → Tavern | Ship crew minimum; rum for mid tiers |
| Luxury food | Buccaneer Grill · Turtle Catcher · Provisioner | High-tier morale and Cohesion buffer |
IGN and community databases list per-building output ratios — one Sawmill per Woodcutter is the classic opening pair. Doubling Sawmills without input or Warehouse space creates red paths, not double planks. When a chain stalls, check production chains for the recipe, then logistics guide for the haul.
Saltern, Herbalist, and Shell Fisher feed medicine, preservation, and trade goods that do not show up in hour-one stew math but matter before long voyages. Cluster them near a second Warehouse once your main lumber/stew triangle runs green.
Ship-specific workshops sit downstream of these chains — unlock them when Compass points and Pier tier align.
Matched by build plan, shared topics, and guide progression — not random related links.
Fleet buildings assume your materials triangle already works. Shallow Pier moors the starter Landlubber; Dry Dock, Sail Workshop, and Rope Workshop assemble Tier 2+ hulls. Armory, Powdermill, and Arsenal feed combat loadouts; Gun Towers defend the island when Crown hunters probe your cliffs.
| Building | Output / role | Prerequisite habit |
|---|---|---|
| Shallow Pier | Tier 1 ship mooring | Planks + rope Warehouse beside beach |
| Rope Workshop / Sail Workshop | Rope and sails for hull queues | Fetchers from fiber/loom cluster |
| Dry Dock | Higher-tier hull construction | Compass ship line + deep materials buffer |
| Trade / Deep-Water Pier | Large ships and trade | Empire or Seafaring spend + fort planning |
| Powdermill / Armory | Black Powder · weapons | Charcoal + metal chains stable |
| Gun Tower (S/M/L) | Island defense | Powder + cannonball haul routes green |
The mistake that delays every Tier 2 launch: Dry Dock on a cliff while Rope Workshop sits two ziplines away. Mirror the beginner Pier-side Warehouse pattern from the beginner guide — ship buildings are materials consumers with zero patience for red paths.
Gun Towers and expedition loadouts drain the same Black Powder and Ammunition chains. Treat them like another district with its own Warehouse triangle rather than bolting a tower onto an unrelated shelf.
Compass Principle buildings then multiply output across whichever districts you already connected.
Principle buildings unlock from the Technology Compass — not from planks alone. Each of the four principles (Wealth, Notoriety, Empire, Seafaring) grants unique structures that buff nearby production, crew, or ships. They are the late-game reason to specialize a district instead of cloning the same camp everywhere.
| Principle | Example building | Effect (summary) |
|---|---|---|
| Wealth | Gambling Den · Great Lighthouse · Salvage Dock | Trade, loot, and economic boosts |
| Notoriety | Entertainer's Guildhall · Cabaret · Zip Line upgrades | Crew efficiency and recruitment flair |
| Empire | Ocean Colosseum · Gun Tower synergies · Elevator upgrades | Military and defense scaling |
| Seafaring | Shipwrights' Guildhall · Shrine of the Sea · Mast links | Ship build speed and exploration |
| Cross-principle | Corsair Cuisine · Voodoo Shack · Statues | Food output or regional specialty buffs |
Corsair Cuisine boosts stew and drink output only near kitchens you already run. Gambling Den buffs producers in Pirate Camp range for timed windows. Dropping them on an empty overlook wastes the deed points you earned — full Compass math lives on tech tree.
A Shipwrights' Guildhall speeds hulls but does not feed Greenhands. Sequence: functional Materials + Food cluster → Community distributors → Compass Principle that buffs that cluster → expand to second camp. Skipping straight to vanity Principle structures is how 100+ building lists feel overwhelming while your camp still eats plain stew.
Use the FAQ below when you need a single-building answer fast.
100+ structures across Connections, Housing, Community, Materials, Food, Ship, and Principle categories — community databases track individual names and costs.
Missing Pirate Camp connection or path. Add Connections or move the building into camp range before assigning crew.
Galley (and Tavern, Outfitter) distribute to camp. Warehouse only stores until Fetchers or distributors move goods.
Pirate Camp, Tents, Woodcutter + Sawmill + Warehouse, Campfire + Galley, then Moonshine Still + Tavern — same opening as the beginner guide.
After Compass ship-line points and Tier 2 hull recipes — pair with Pier-side rope and sail workshops.
One Small Gun Tower at a choke can buy time, but only if Powdermill and ammo chains stay green.
Principle structures require Technology Compass spend and grant area buffs — see tech tree.
Production chains for goods; this page for which building type owns each step.
August 16, 2026
Matched by build plan, shared topics, and guide progression — not random related links.